

Big Ideas. Bite Size Chunks £10.00 per month
Over fifty short video lessons, each one teaching a single idea properly. Most run around ten minutes, which is about the length of a coffee. Project videos run longer.
Sharpening and tool control
Design principles and proportion
Finishing techniques
Step-by-step projects
Workshop setup
and more!
New content added regularly. All organised so you can find what you need.
What You Get
One consistent method.
Les Thorne and I are both Registered Professional Turners, and The Woodturning School holds Provider of Training Excellence accreditation. You are learning one approach refined over thousands of hours at the lathe and hundreds of students in the workshop, rather than collecting contradictory advice from a dozen sources.
One idea per lesson.
Each video teaches a single thing and then stops. You can watch one before work or between projects, and small regular practice builds better skill than the occasional marathon.
Find it when you need it.
The library is organised so you can go straight to the thing in front of you, or work through a topic in order. Both work.
Tested on real students.
These are the methods we teach in the workshop, refined by watching where people actually get stuck.
Members also get
Early access to Martin’s biweekly Workshop Extras film. New films go up on YouTube on Tuesday evenings. Members watch from the Sunday before.
Workshop extras. From time to time I add pieces that do not go anywhere else: the setup behind a film, a longer answer to a question a student asked, or a look at something on the bench.
No adverts. Everything here plays straight through.
Bite-Size Workshop
The Bite-Size Workshop is a library of focused video lessons for woodturners who want to learn efficiently. The videos are (mostly) around 10 minutes long (project videos are longer) and teach one specific skill or idea, neatly explained with no waffle (and no ads).
The library covers sharpening, tool technique, design principles, finishing, projects, troubleshooting, workshop setup and more. You can learn at your own pace from Registered Professional Turners. It's ad-free, organised, and designed to respect your time.
To stay up to date with new releases, please join the Bite Size mailing list.
-
In the Beginning
-
Safety & Good Practice
-
Lathe Basics
-
A Five Minute Pre-Turning Ritual
Learn a simple but effective approach to the first five minutes before you start to turn.
-
Turning Between Centres
Find out about turning between centres and how to prepare a spindle blank for turning using a live and drive centre.
-
Vicmarc VL300 Overview
Overview of Martin’s Vicmarc VL300 lathe that he uses at the workshop.
-
Thoughts on Lathe Speed
Having a common-sense approach to lathe speed is important! Get some advice here.
-
Tool Rest Height
Martin demonstrates his practice of how he positions the tool rest for various tools.
-
Tenons That Hold!
Learn the importance (and a method) of turning the right size and shape tenon of the jaws you are using.
-
How High Should Your Lathe Be?
A 60 second guide on setting the height of your lathe for the most comfortable turning session in the workshop.
-
-
Tools and Accessories
-
Simple Buying Guide
Not knowing an individual’s budget for turning kit, this lessons provides some advice on buying your workshop set-up.
-
The Standard Set of Six Tools
Explore the standard set of six tools with Martin and learn what to look for and what to expect.
-
Parts Of a Gouge
In this video, Martin explains the parts of the tools - particularly the business end!
-
What are the Best Angles for Your Gouges?
Every student asks this question, and I’ve afraid the answer isn’t too clear cut, but I do have an answer!
-
-
Sharpening
-
Spindle Turning Techniques
-
Spindle Roughing Gouge
Watch Les Thorne explaining the good use of a spindle roughing gouge.
-
Spindle Gouge: V-Cuts
Les Thorne explains the method of turning a V-Cut with a spindle gouge.
-
Spindle Gouge: Beads
Beads are a fun shape to turn. In this video, Les Thorne shows you how.
-
Spindle Gouge: Coves
Coves are the mirror technique of beads. Learn from production turner Les Thorne the method.
-
Spindle Gouge: Practice Piece
This practice piece is a great item to turn into a foot massager.
-
-
Bowl Turning Techniques
-
Introduction
Short introduction to the bowl turning series.
-
Outside of the Bowl
Learn The Woodturning School’s method of turning the outside of a bowl.
-
Inside of the Bowl
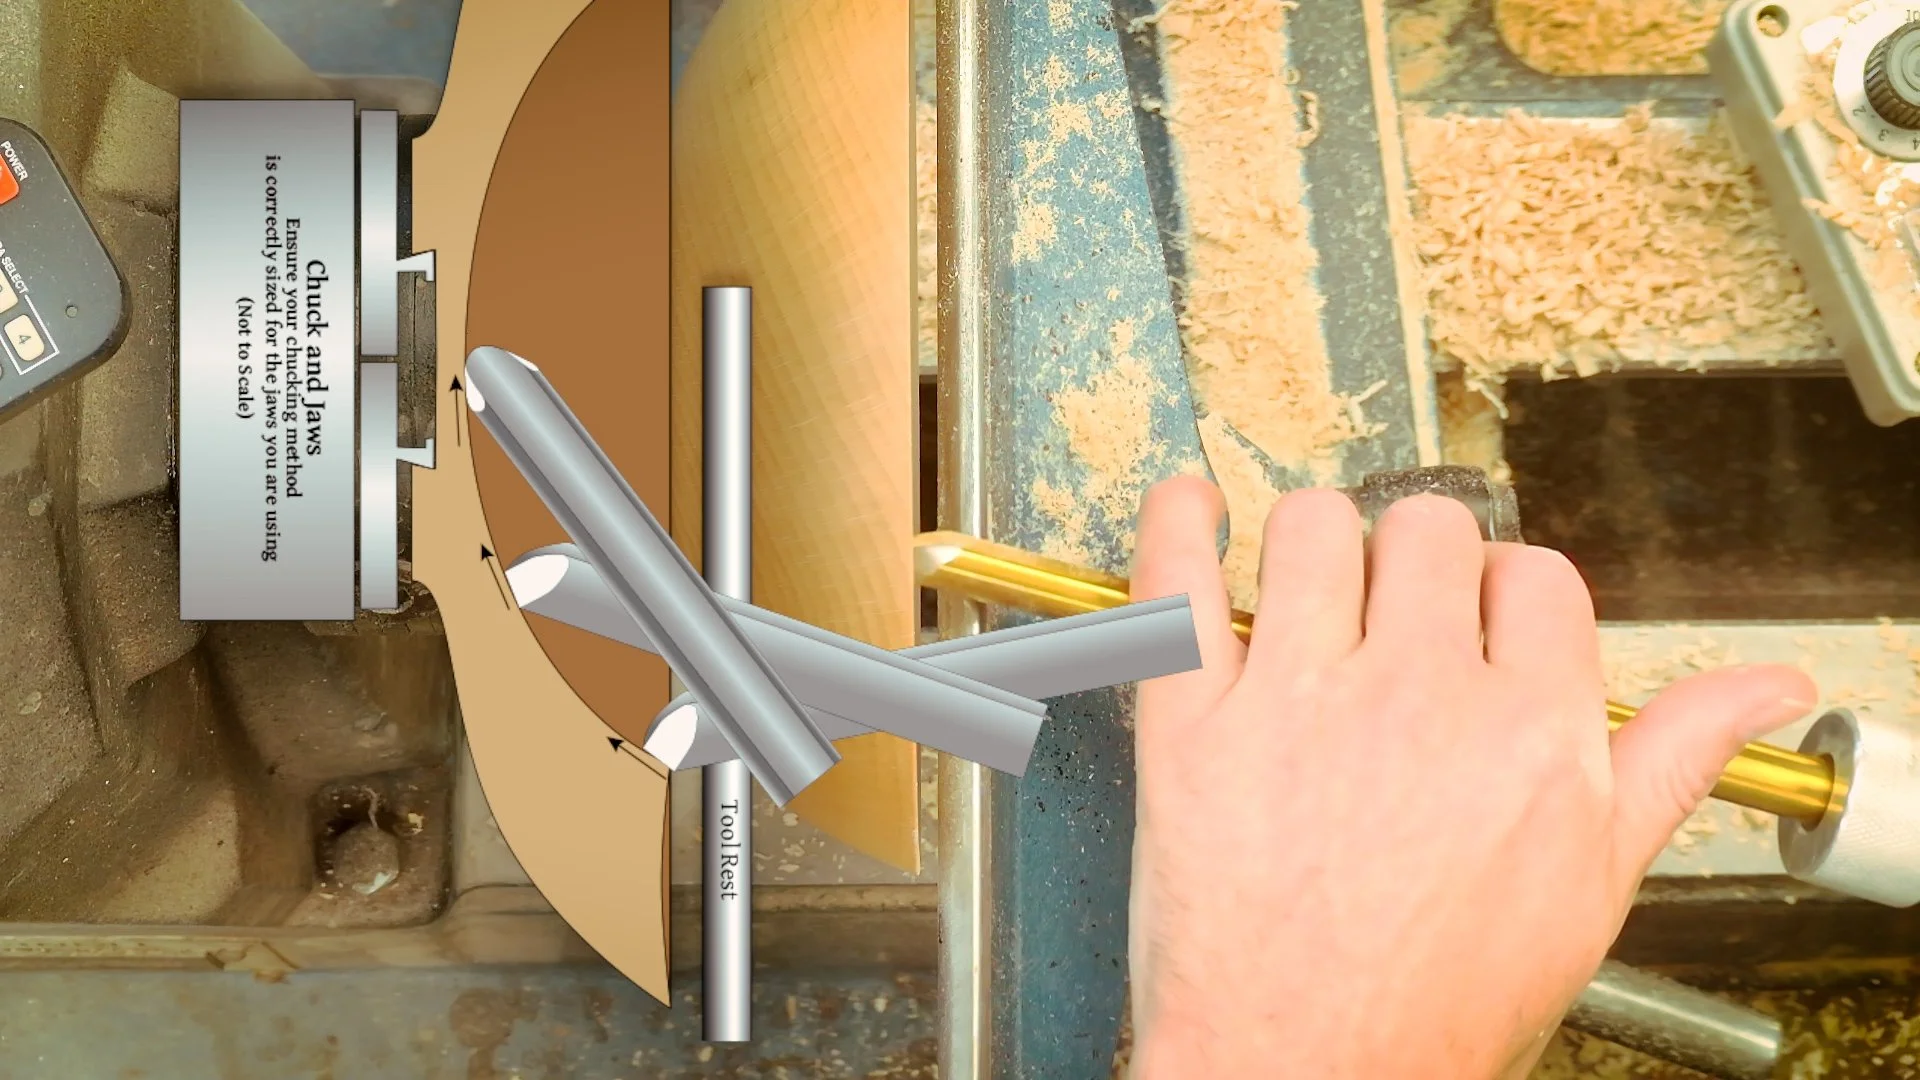
Using superb onscreen graphics, see how the inside of a bowl is turned.
-
Bowl Sanding and Finishing
To complete a bowl perfectly, learn Martin’s excellent techniques for sanding and finishing.
-
-
Beginners Projects
-
Mushroom
A mushroom is a super project to play with for improving your spindle gouge work.
-
Cork Bottle Stopper
To add some precision to your turning (and to make a super gift), a cork bottle stopper is an excellent choice.
-
Single Tool Slimline Pen
In this video, we take a look at turning a slimline pen using just a Spindle Roughing Gouge
-
-
Design and Proportion
-
Finishes and Finishing
-
Troubleshooting
-
Workshop Set-Up
-
Les Thorne's Box Chronicles
-
Basic Box Part 1: Introduction and Getting Started
-
Basic Box Part 2: Hollowing with a Spindle Gouge
Discover the technique for hollowing end grain with a spindle gouge.
-
Basic Box Part 3: Finishing the Lid
After reverse mounting the lid on the base, here’s how to finish lid with a little flourish.
-
Basic Box Part 4: Turning the Base
Another look at end grain hollowing with a spindle gouge and finishing the cut with a multi purpose tool.
-
Basic Box Part 5: Fitting the Lid and Finishing
Discover the technique for fitting the box lid perfectly and reverse mounting the base on a jam chuck.
-
Curly Box Part 1: Getting Started
Getting your Curly Box blank round and turning the tenons.
-
Curly Box Part 2: Hollowing the Lid and Scraping to a Finish
Use a spindle gouge to hollow the lid and use a scraper to finish the surface perfectly.
-
Curly Box Part 3: Hollowing the Base and Fitting the Lid
Fitting the lid in same way as in the Basic Box.
-
Curly Box Part 4: Shaping and Texturing the Outside
Les shows how he uses a half inch spindle gouge to turn and elegant shape before texturing.
-
Curly Top Part 5: Preparing the Texture and Harlequin Colouring
Add the surface texture now with a rotary cutter and Dremel-like tool before lacquering and colouring.
-
Curly Top Part 6: Fitting the Lid and Removing the Spigot
Finish off the box well by removing the tenon from the base of the box and complete with lacquer.
-
-
Photographing Your Finished Pieces
-
Droplet Clock and Mirror